Homemade camera car
What’s the best place in a train? At the front with the engine driver of course! That is the only seat for which you cannot buy a ticket. But on a model railroad that is a different story. With a mini camera in the front of the train you get a real; view of the track ahead. Carriages and locomotives with a camera are however rare and firm to the price. Fortunately it is has become quite easy to build something like that yourself.
Model trains with a video camera are not really rocket science. Some time ago I already tested a Märklin video car. The ready to run model did cost really a lot of money. On the Draadloos Cameratoezicht website I encountered a camera set of € 95, -. The set offers you everything you need: camera with transmitter, receiver, power supplies and all cables. I just could not resist ordering one.
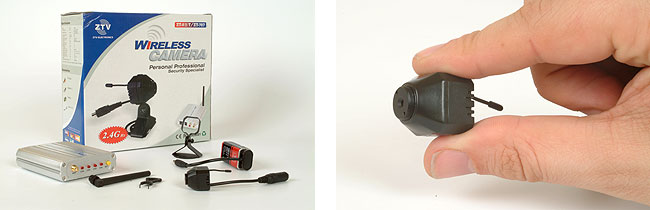
The camera and transmitter are combined into one module. The module is small to fit into an H0-model. The set is really plug and play. You connect the camera to the 8 volt adapter of to the also included 9 the volt battery. The receiver connects to the AV-connector of your television. Within five minutes you have started your own television station.
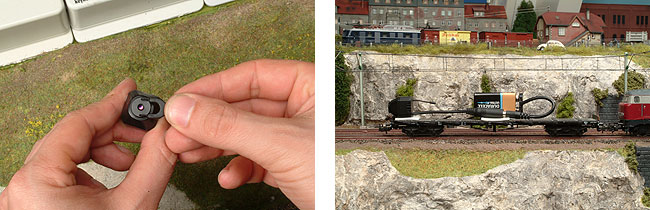
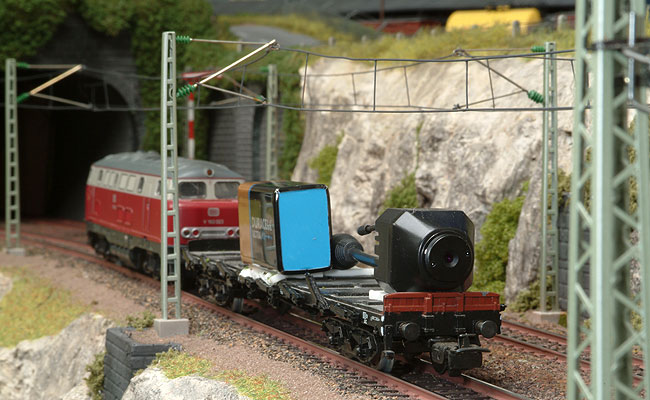
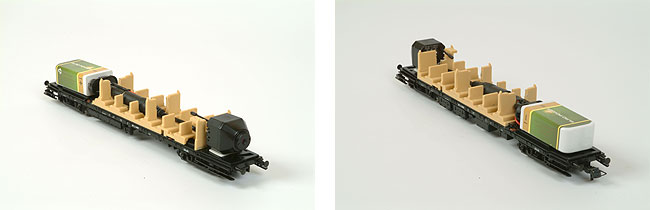
You can simply stick the camera and the battery on a flat car. You only have to adjust the focus by turning the lens. The electronics automatically adjust the lighting and the colour balance. The quality of the picture is quite good. The depth of focus is only very big and the edges of the picture are also not entirely sharp. As long as the train is moving, you do not really notice these little shortcomings.
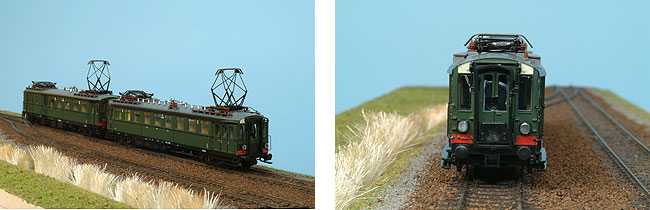
It gets even better if we build the camera into a train. I picked the classical Dutch multiple unit ‘Blokkenboos’ by Roco. Some of the cars were designed to run inside the train and have doors in both fronts. The front is completely straight has windows right in the middle. I selected a dummy motor car for conversion. The cars do not have a motor and gears that can get in the way.
My first idea was to power the camera through a decoder. Rapidly it became apparent that the camera is very sensitive to signals coming from the track. The digital signal caused strong interference in the image. The simple solution was to use a rechargeable battery instead. The battery and the battery charger are cheaper than a decoder and the extra electronics. An extra advantage is that the camera car can now be used on every layout. Two-rail, three-rail, analogue or digital, it does not matter.
The camera fits tightly into the cabin of the Blokkendoos after removing a part of the interior. The battery goes into the other side of the car. Again, a part of the interior has to be cut away. Leave the thick cable and connector on the camera. The connector houses some of the electronics regulating the power to the camera. After you have widened the corridor a bit, it will all fit nicely into the car.
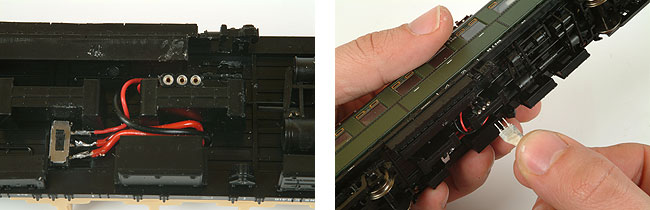
A little switch and a charging terminal are fitted under the car. The switch is used to turn the camera on and off. If the camera is turned off, the battery can the charged via the connector. Faller uses a similar solution for their Faller Car System. You can buy a simple charger from any hardware store for just a few euros. I soldered two wires with a little connector to the terminals of the charger. The connector plugs into the charging terminal under the car.
Finally you have to make some small modifications to the housing. The glass and the bar of the front doors are cut away, giving the camera a clear view of the track. The light conductor for the front lights also has the removed. The two ends of the plastic conductor are cut of and glued into the lamp sockets. You camera car is now ready. Get in and drive!
2005